I always love the process of planning themed birthday parties for my kids. I enjoy looking around for fun and inexpensive ways to bring a theme into a party. I realize that makes me sound like a big dork. I’m sure my girls probably wouldn’t really care if their parties were themed or not, but I like having them pick one anyway.
And though Lass later decided she wanted an okapi-themed party, she had originally requested a horse theme. So that’s what she got. It was a cute theme, and I found lots of good stuff to make it fun.
(Note: if you don’t care to read about how I planned the horse party and made glittery tails for seven kids under 6, feel free to skip this post. It’s all I’ve got for you tonight:)
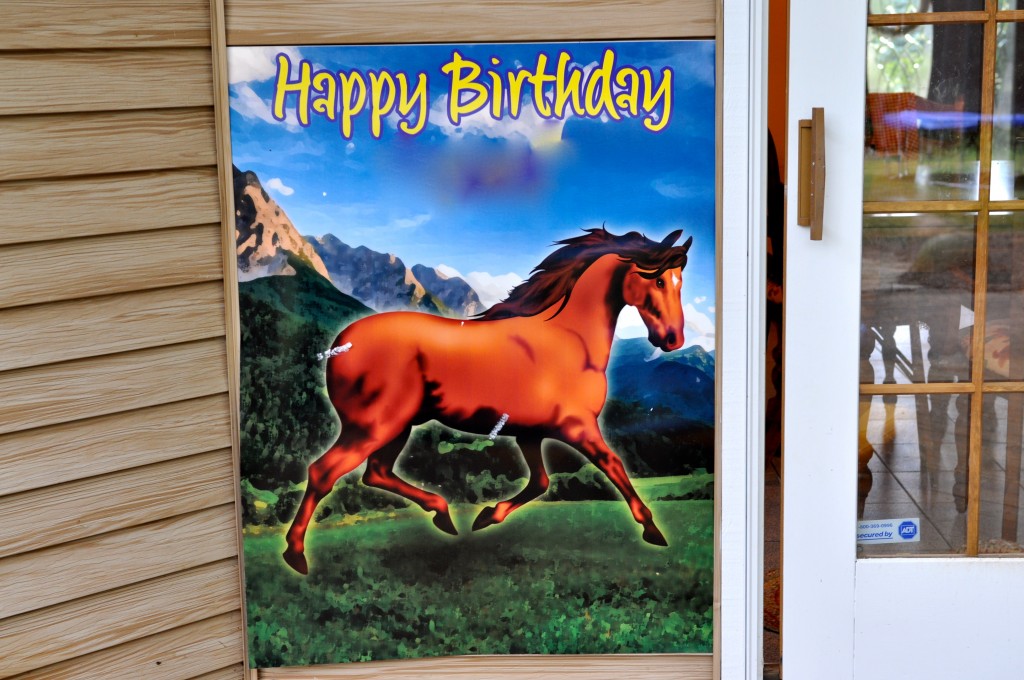
One of my favorite finds was this personalized “Pin the Tail On the Horse” game poster. It was huge, sturdy, and only $10! I just used double-sided tape for the kids to stick on the tails that came with the game, and I had a simple paperback book about horses for the winner’s “prize.”
I also got a pack of these ride-on horses for the kids to color and put together. I considered putting out glitter glue and paints for these, along with yarn to make manes and tails, but in the end opted for easy and not too messy – markers and some googly eyes I helped the kids glue on.
The horses ended up being kind of chintzy and hardly any of the kids actually pretended to “ride” their horses once made, but it was a fun enough activity and I was glad I had a little craft for them to do.
I also had some horse tattoos for the kids to pick and put on during the party.
And those three activities were the only “structured” parts of the party, other than eating pizza and cake. The rest of the time the kids just played, mostly on our trampoline.
At the end I had Lass pass out these favor boxes. She and Miss helped me make them by decorating them with stamps and stickers.
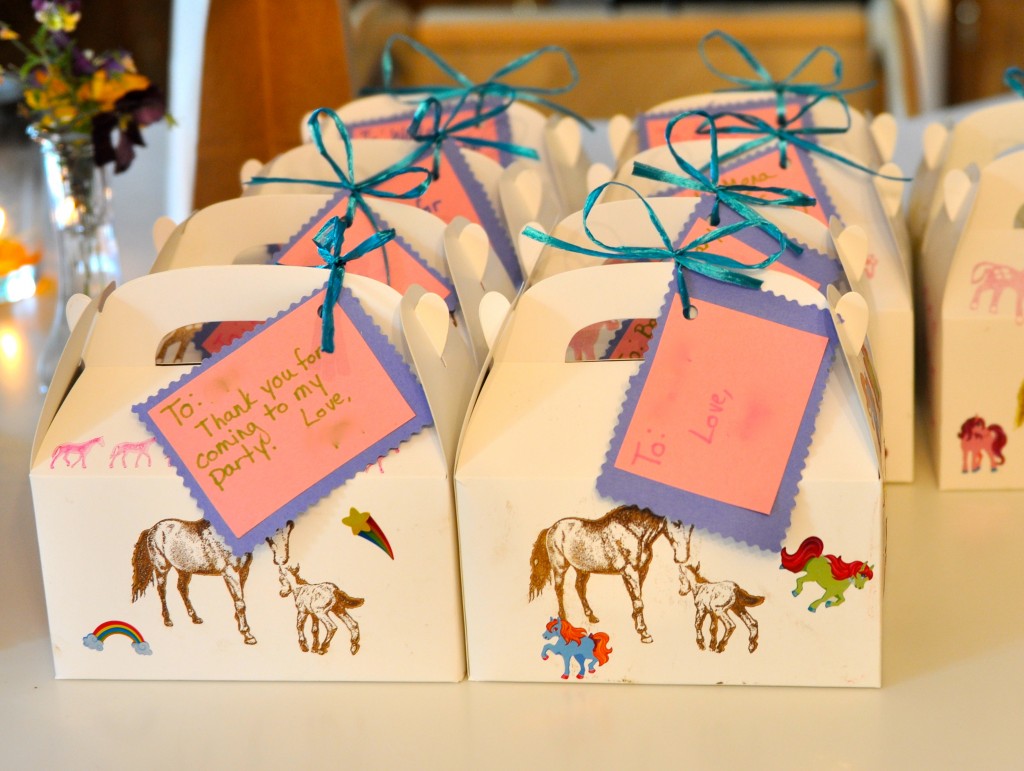
Inside each of the boxes were more horse tattoos, a booklet of horse stickers, some horse-shaped lollipops, a horse finger puppet (which looks a little creepy in person), and a couple of little plastic horses.
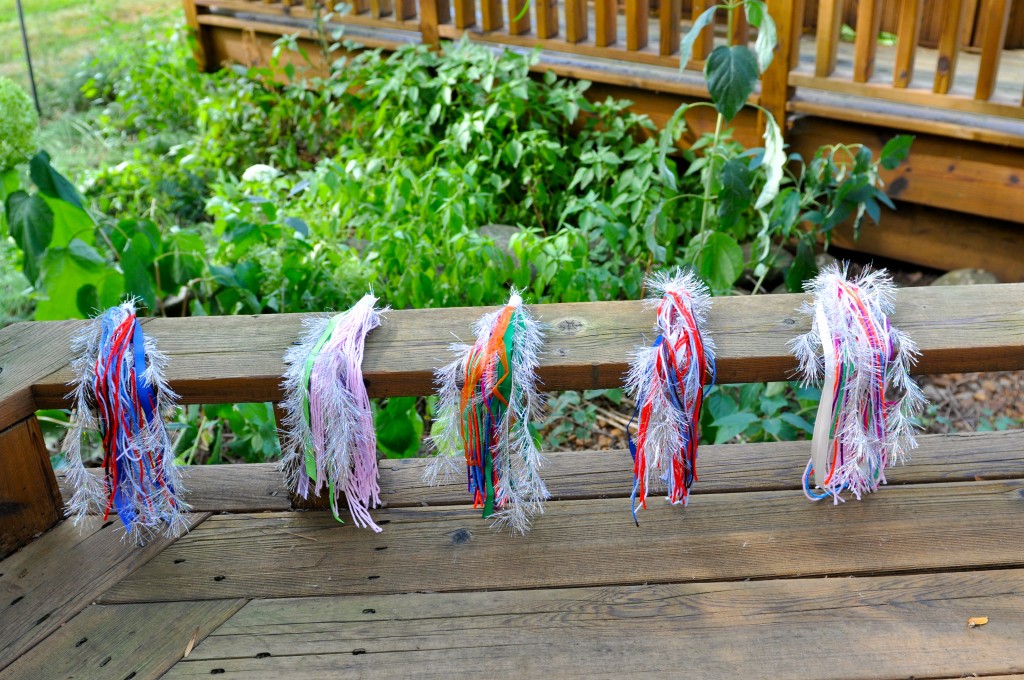
My favorite part of the horse theme though, was the sparkly horse tails I made for the kids to clip on their shorts (or in their hair, but they all wanted them on their shorts).
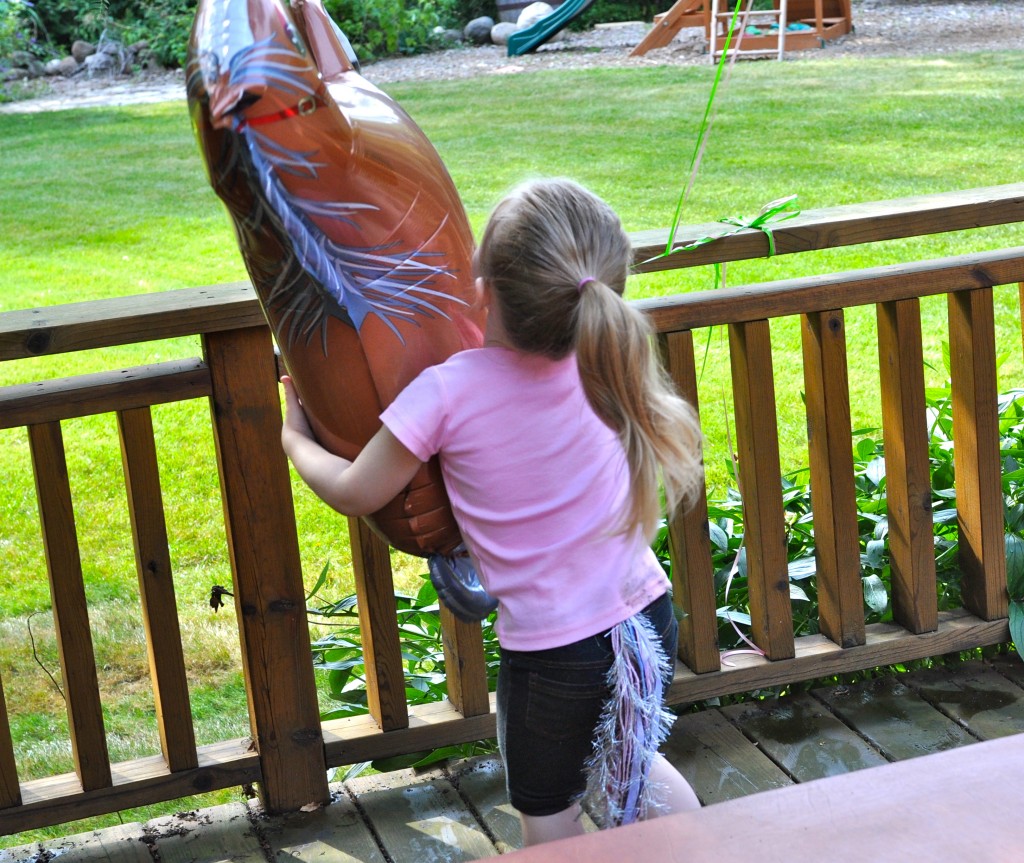
(This horse balloon and the cups/plates I got here)
I originally saw the idea for this here (lots more ideas here). A mom made tails for kids kids to use in the “Pin the Tail” game (I had originally planned to use them for our game too, but sticking with my keep-it-easy plan, I made a last-minute decision to use the little cardboard ones that came with the game instead). She used rubber bands instead of clips, so the girls could put the tails in their hair after pinning them in the game. But she didn’t provide instructions for how she did it other than to say she used different types of yarn.
So. I came up with my own way of making tails. I didn’t want to use rubber bands because I knew we would have some boys at the party. And I thought just using yarn would leave them a little flat, so I wanted to add some other textures too.
Here’s what I came up with:
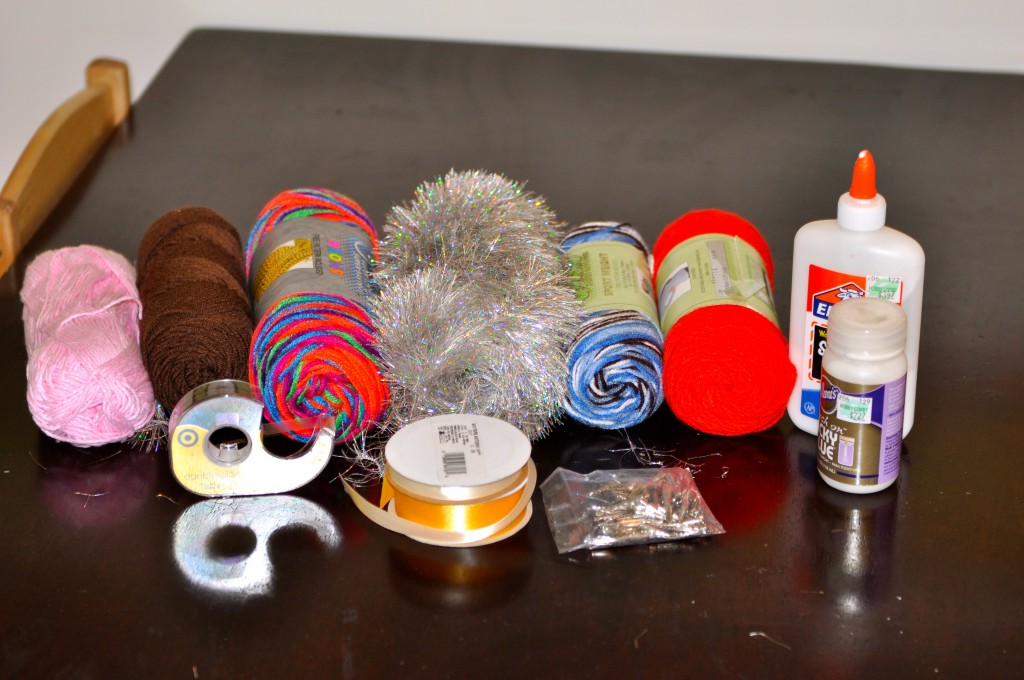
1. Materials used – Different colors of yarn, including some that was sparkly, silver, and fuzzy, 3/8-inch ribbon in different colors (I got ribbon scrap packs at Hobby Lobby because I didn’t want to buy a bunch of whole rolls of ribbon), 7/8-inch ribbon (I used some gros grain I had from a previous project), double-sided tape, 1-inch alligator clips, and tacky glue (I also tried Elmer’s, but the tacky worked better).
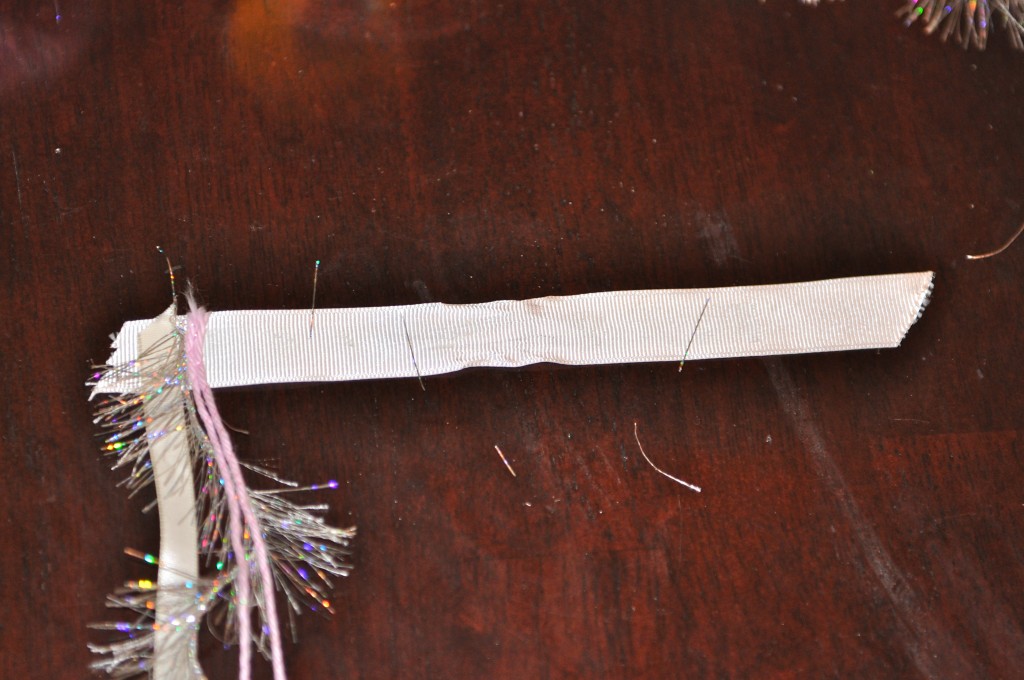
2. Start by cutting about 7 to 8 inches of 7/8-inch wide ribbon. Lay it down flat and put a piece of double-sided tape down the length of it.
3. Cut pieces of yarn and 3/8-inch wide ribbon to the length you want your tails (ours were probably about 12 inches), and start randomly placing the top part of these pieces along the tape, very closely together.
4. After you have about 6 inches of yarn and ribbon laid out, stop adding and leave about 1.5 to 2 inches of the wide ribbon for wrapping up at the end.
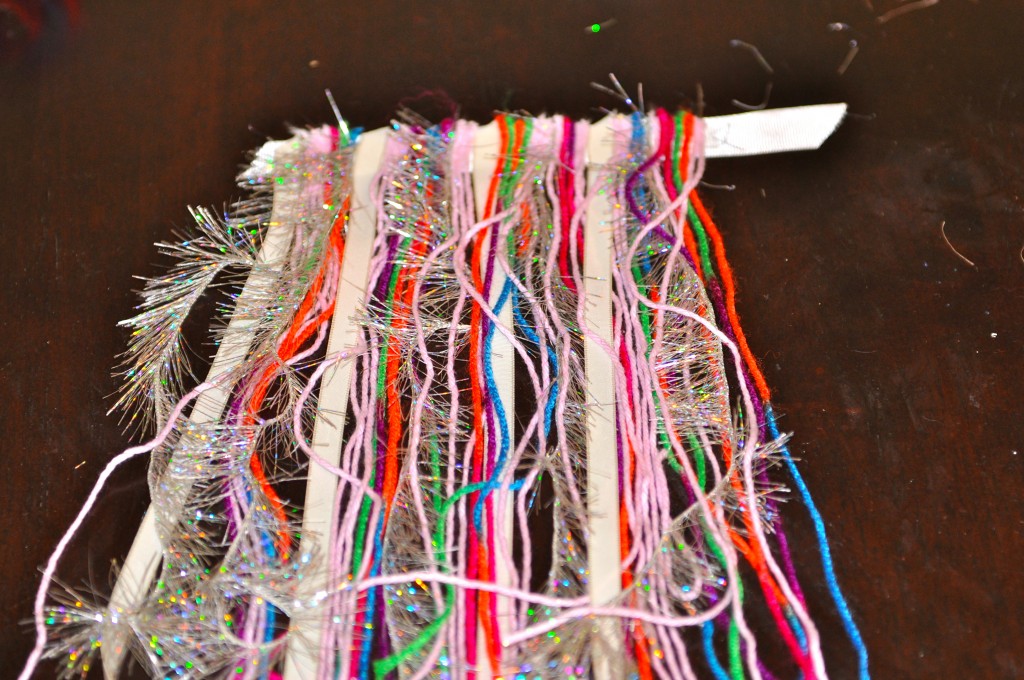
5. Place another strip of double-sided tape over the top of the yarn and ribbon.
6. Start rolling at the end where you don’t have extra ribbon left (the left side in my pictures). Roll the tops of the ribbon pieces all up in the 7/8-inch ribbon and tape.
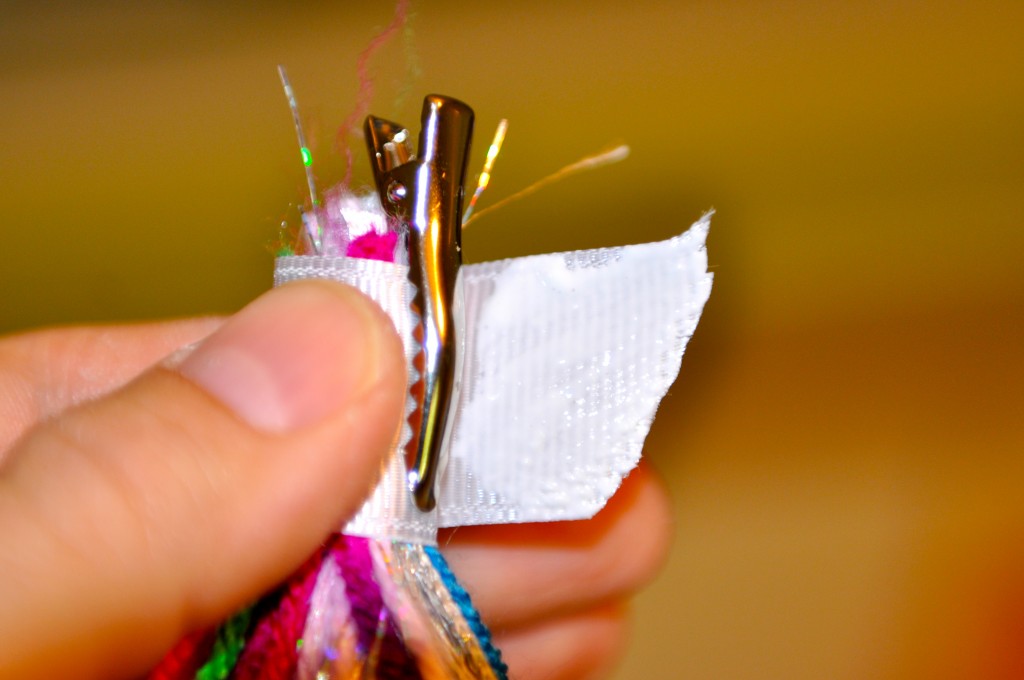
7. When you get close to the end of the tape and the yarn/ribbon, put your alligator clip on.
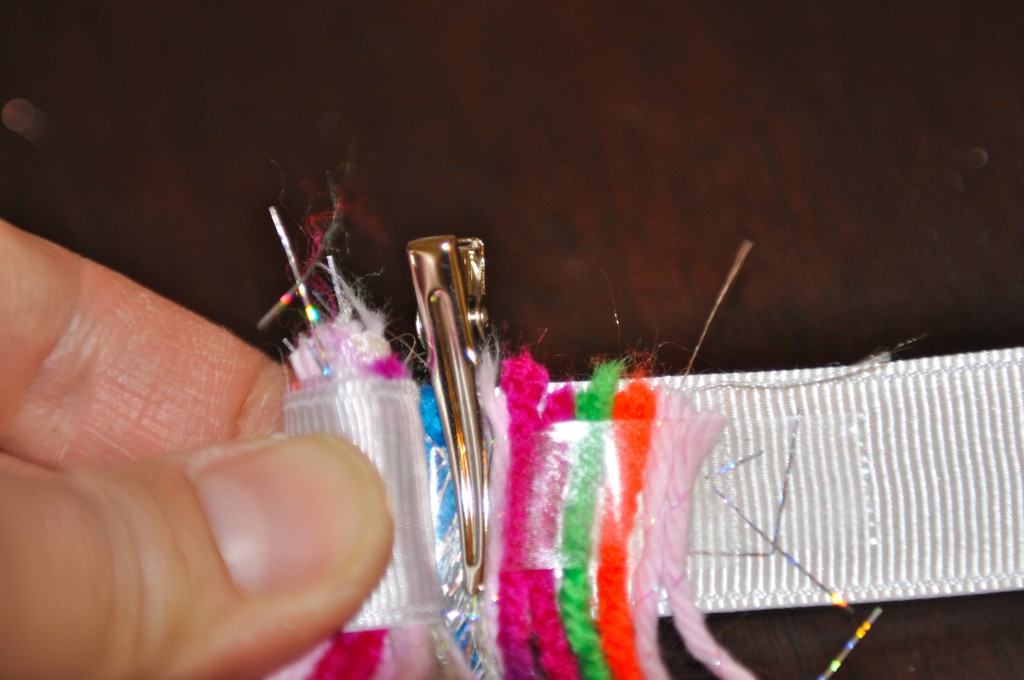
8. Keep rolling right over the inner part of the clip. When you get to the point of having about an inch of the wide ribbon left to roll, put some tacky glue on it and then roll it the rest of the way. Of course make sure you open the clip and roll it underneath so you don’t glue your clip closed in the roll of ribbon.
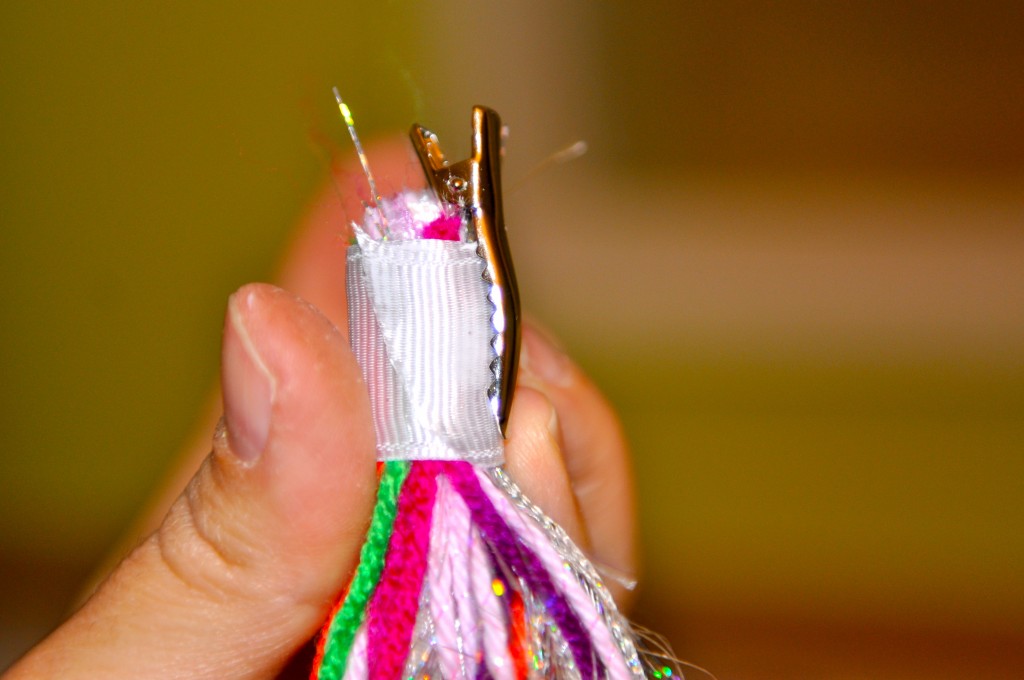
And that’s it! They were so easy and I love how they turned out. Most of the kids seemed to get a kick out of them too.
Miss is already asking for a turtle theme for her next birthday. I kind of want to get started on it, but I suppose I should wait to make sure she doesn’t change her mind, since her birthday isn’t until February 🙂

These turned out awesome & were so fun to make! Thanks for the tutorial!
I’m so glad they worked for you!