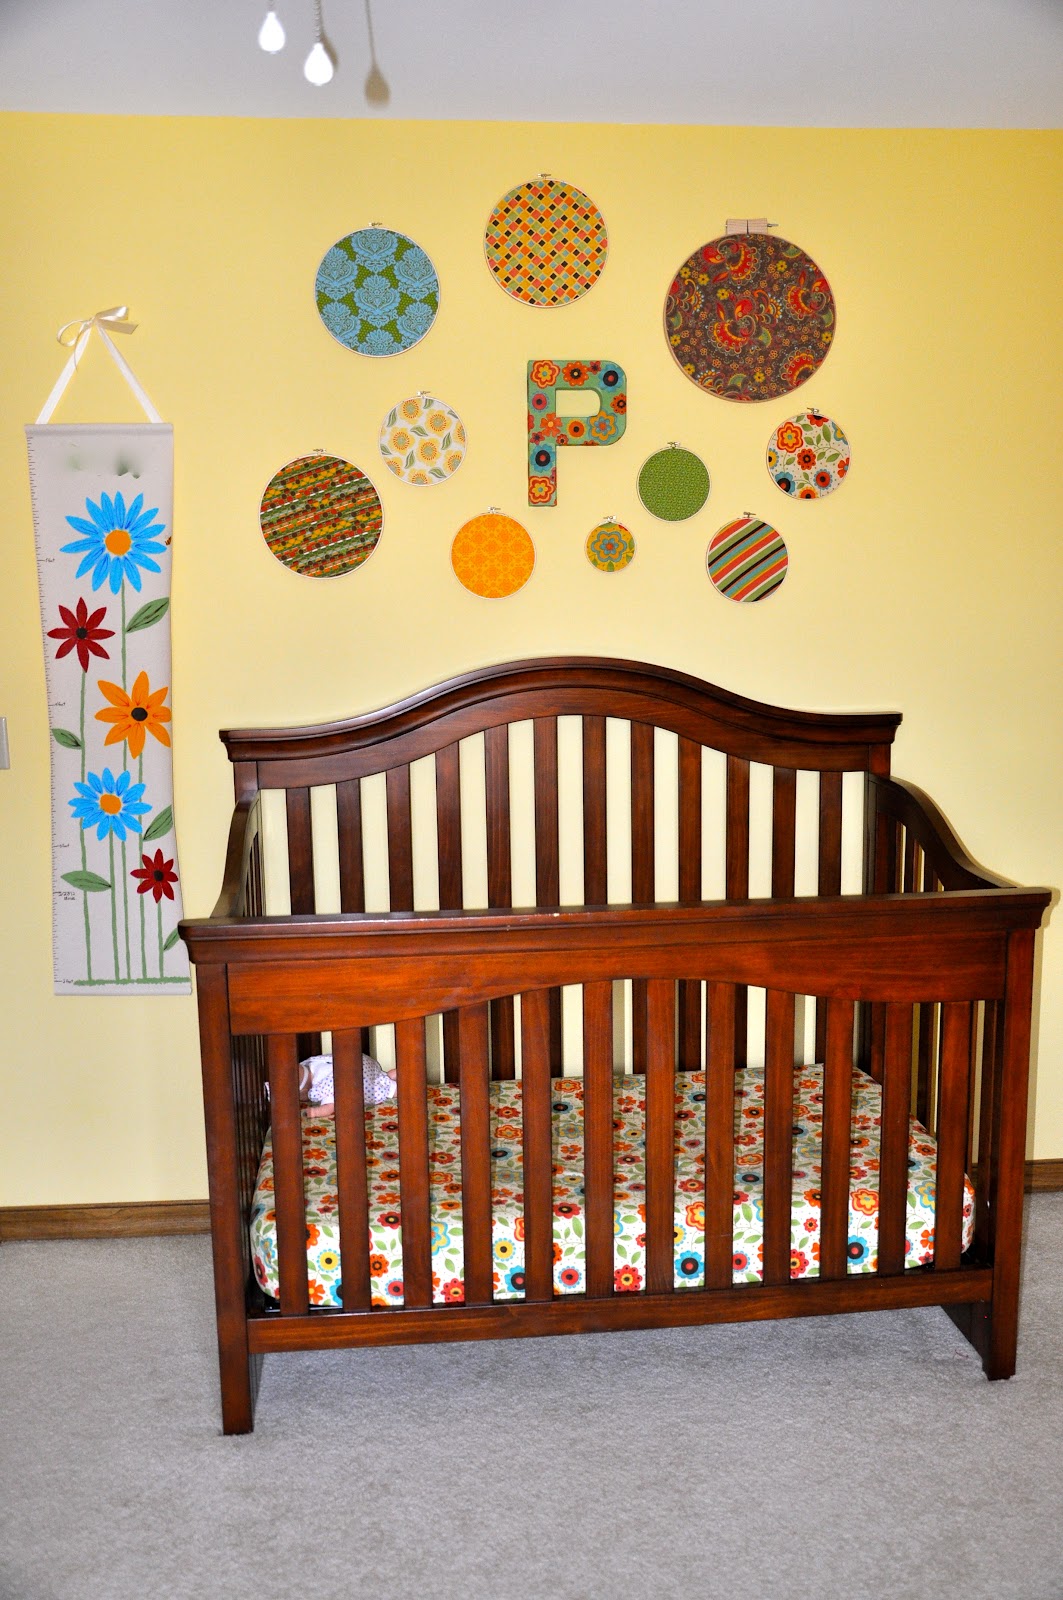
I’ve already posted about how to do the growth chart. If you want to know how, see the tutorial here.
This is basically what Lass’s room looked like before (check out how tiny Miss is in this pic!). All of my girls’ rooms had fairly pathetic wall decor, so I decided to use a few ideas from Pinterest, add a few ideas of my own, and make them much more fun and interesting.

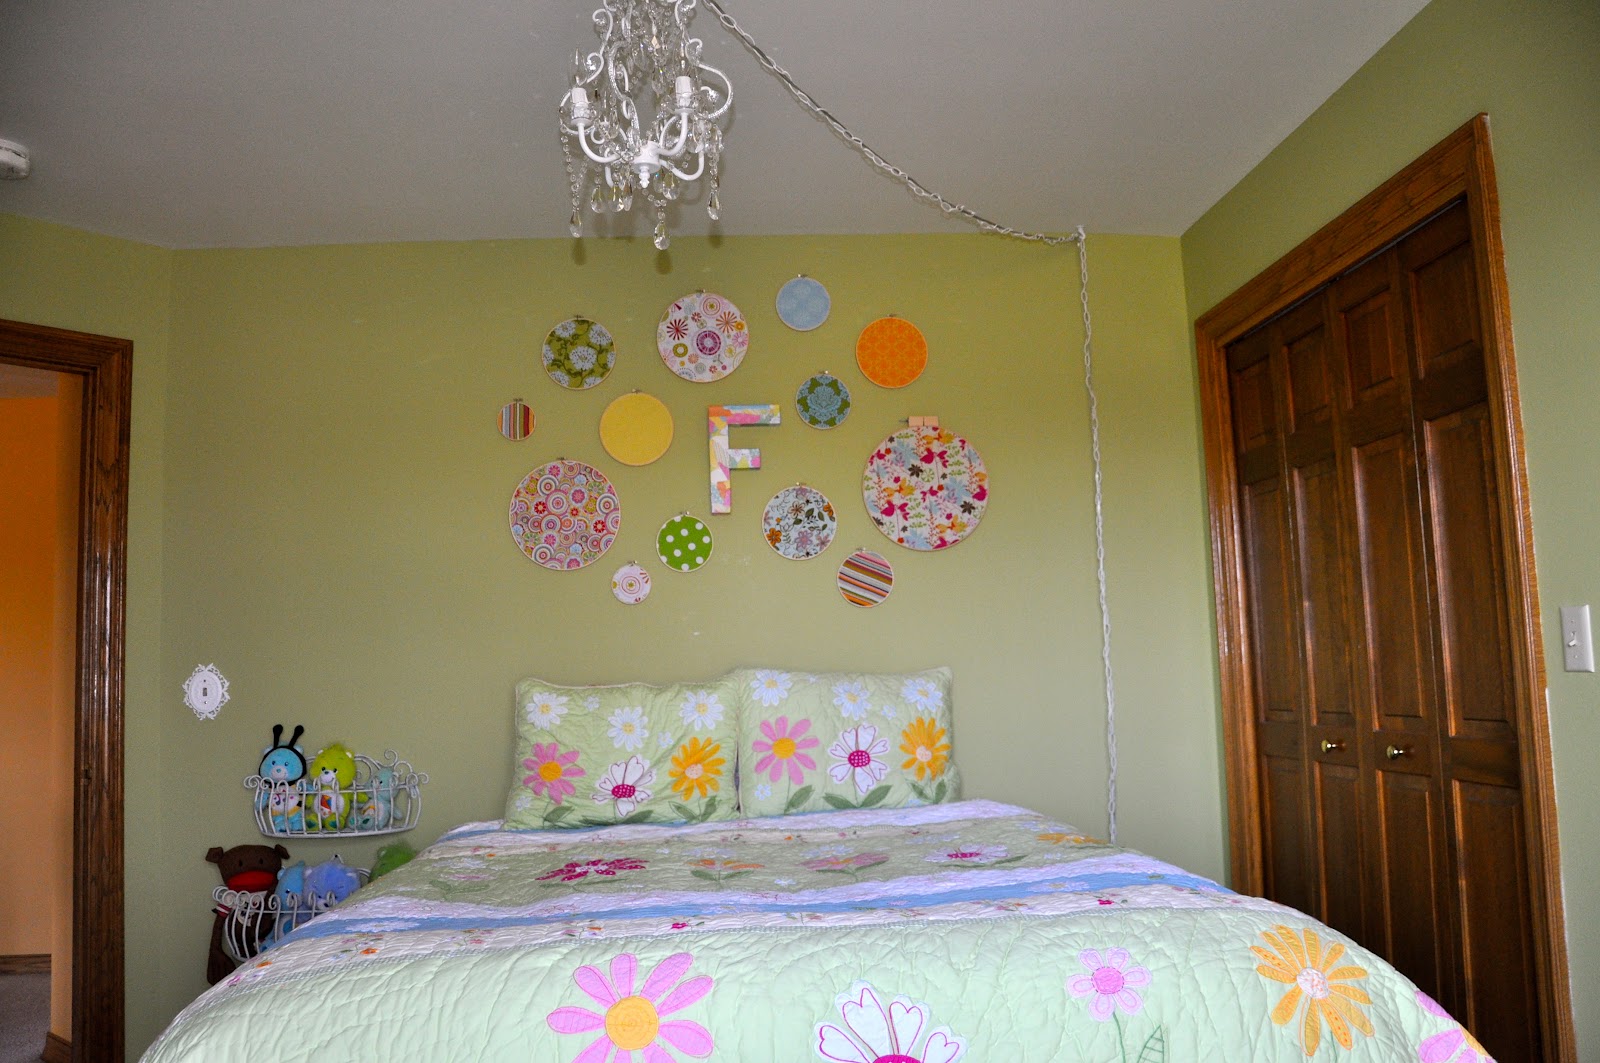
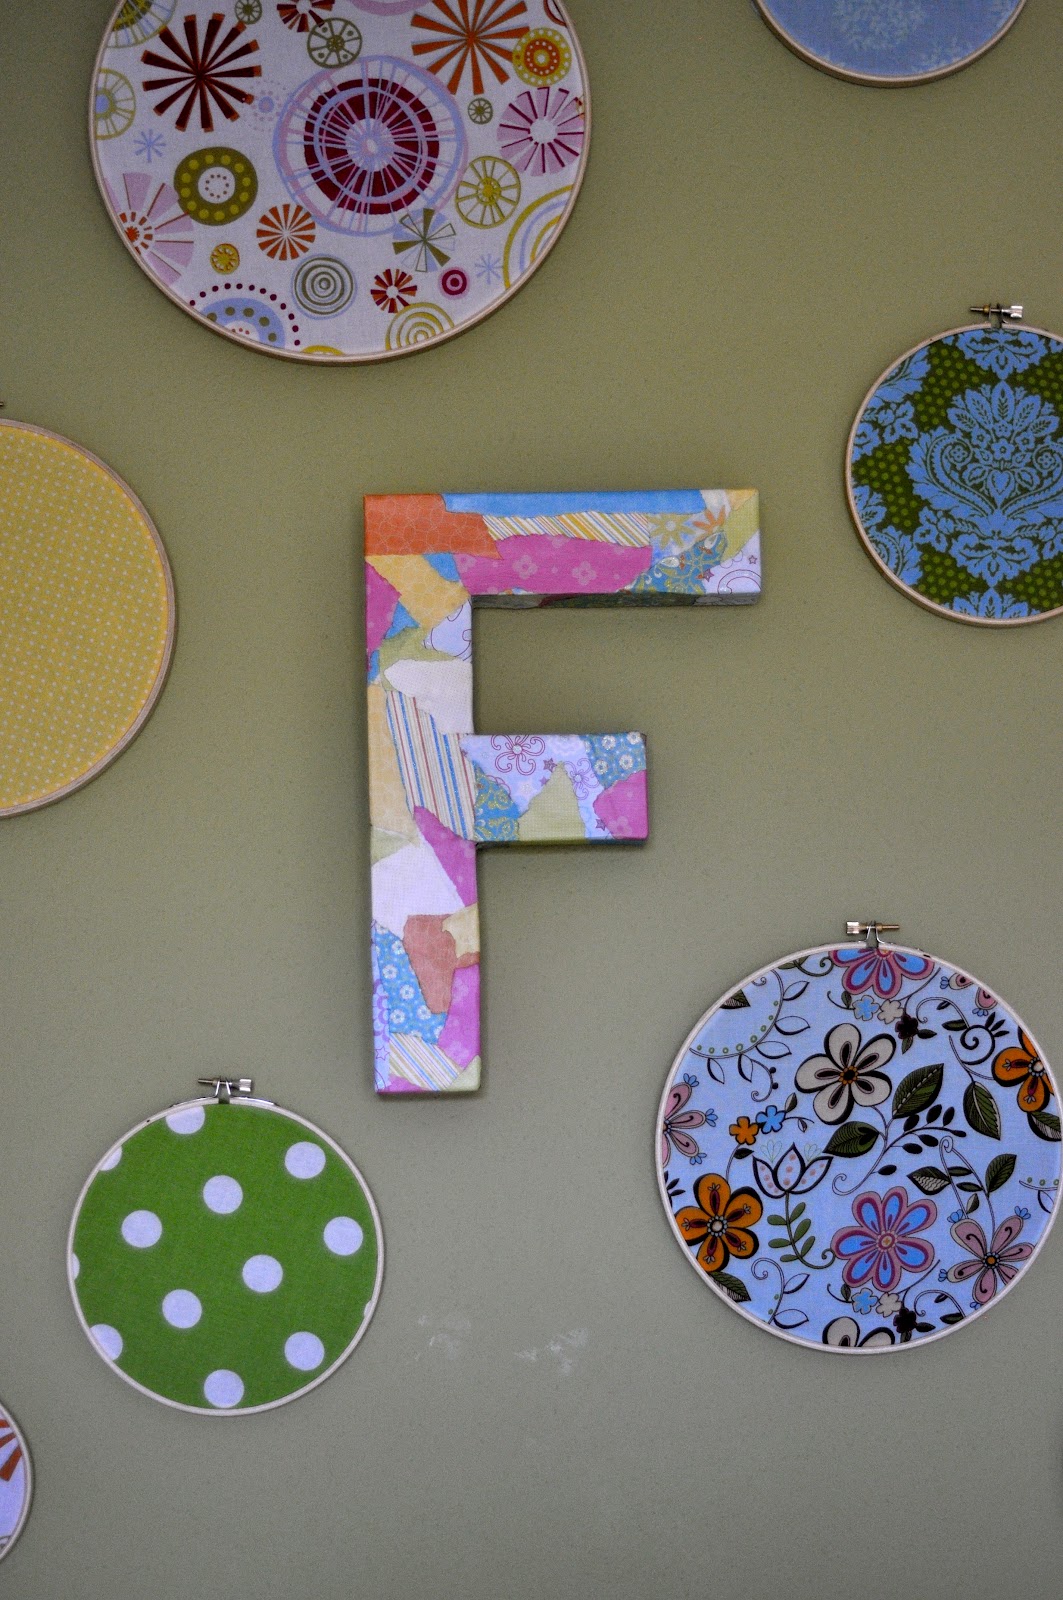
I got the idea for the fabric rings from Pinterest. They are so easy and cheap and really make a big impact I think. I am not completely happy with the balance of the circles in Lass’s room, so tonight I made a couple more circles and will try adding them tomorrow to make it look better. But I still love it even as it is right now.

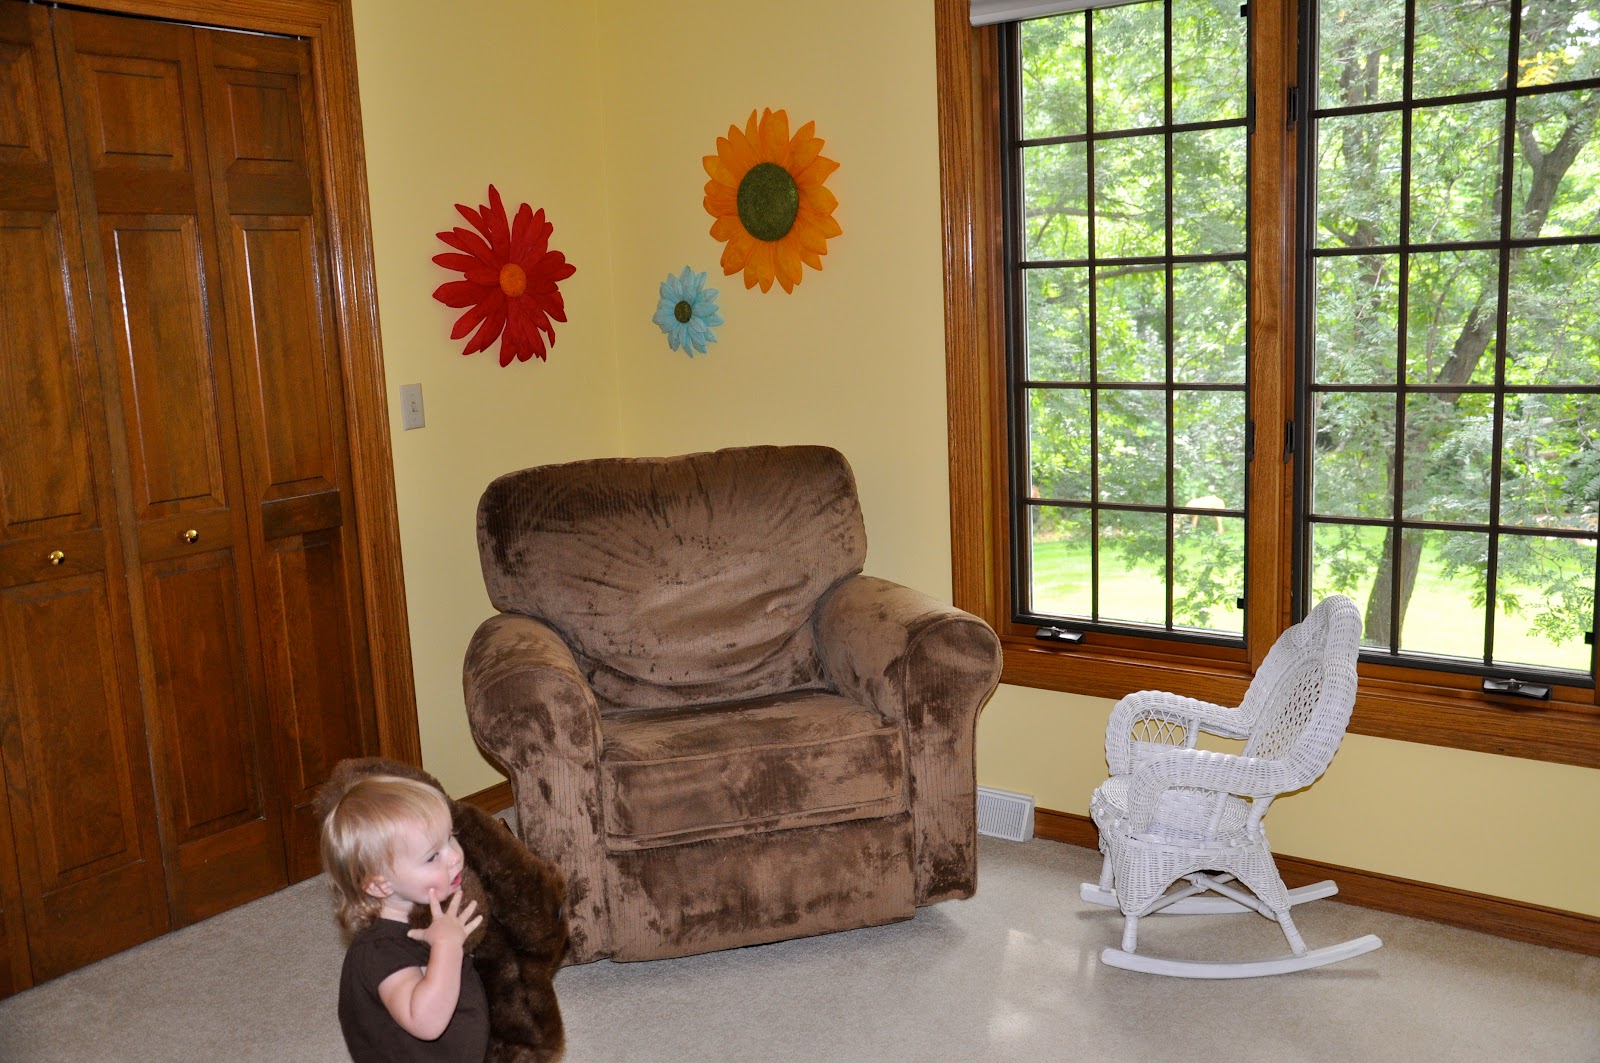
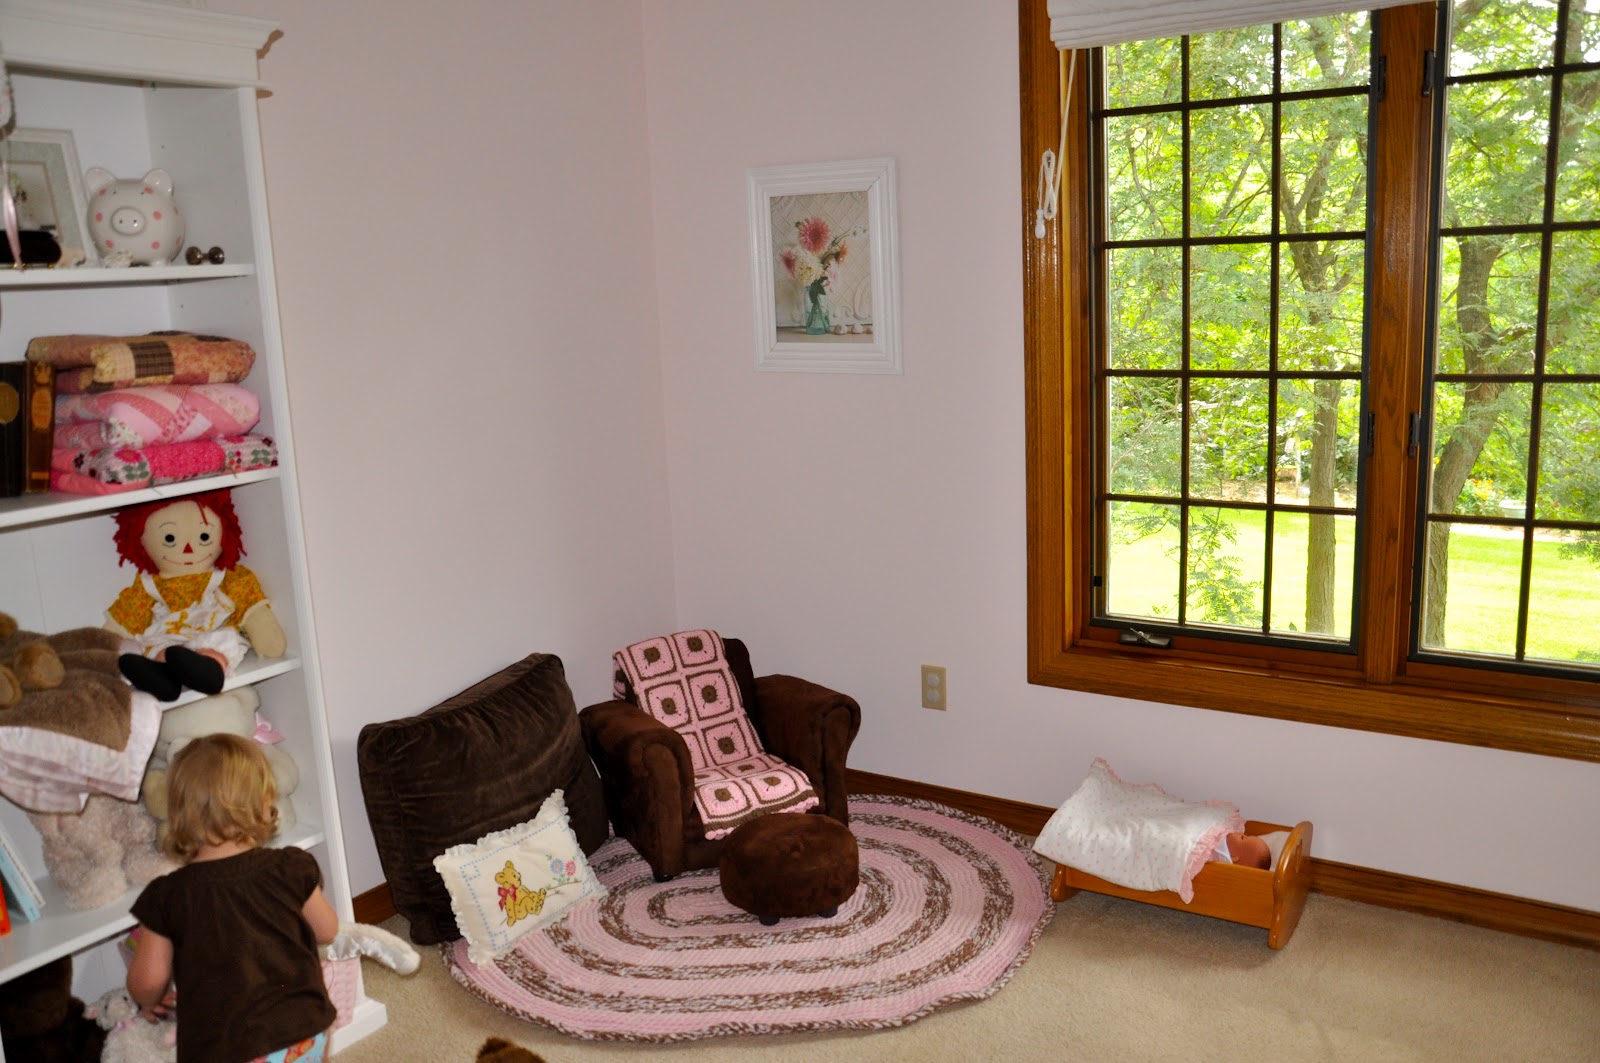
I also spruced up the other side of her room.

This is what it looked like before. I needed to take this huge rocker and move it to Baby Sis’s room, so I brought Miss’s old reading chair in and added some shelves.
I love the finished product. My mom made these curtains!

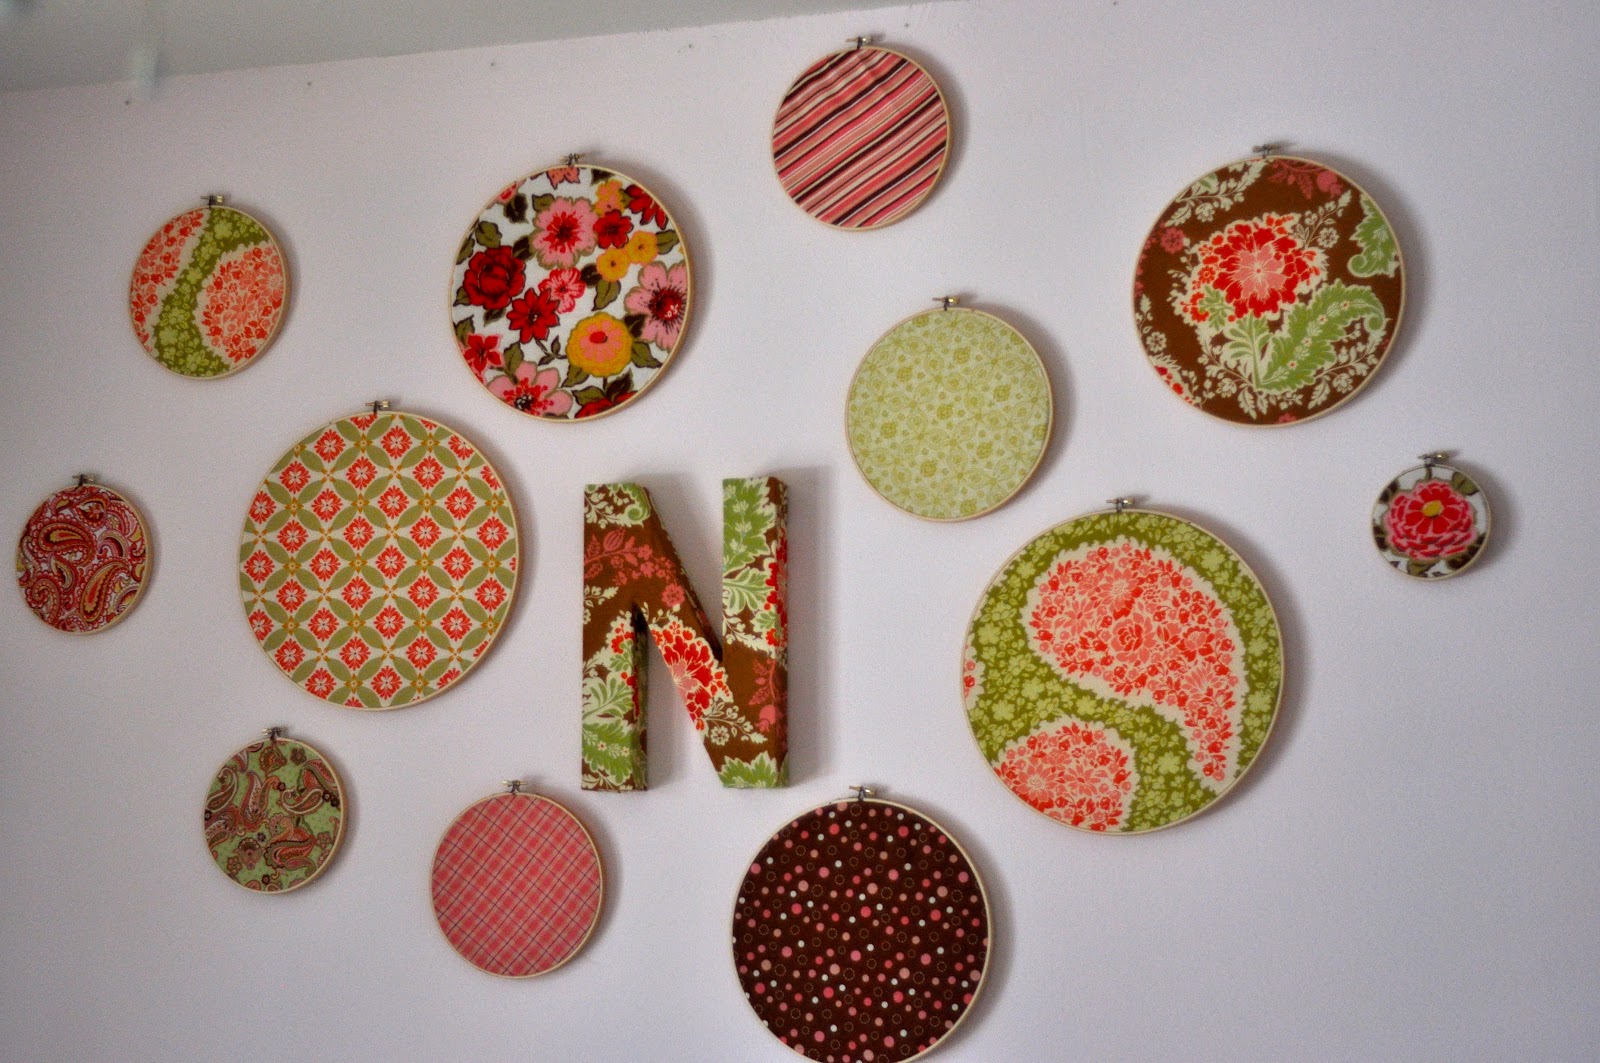
Baby sis’s room still has a bit of work to be done, but the wall above her crib is done.
This used to be Miss’s room. We were initially going to move Sis into our third bedroom, which was previously a guest room, but at the last minute decided to move Miss in there and put Sis in Miss’s room. The main reason was because we couldn’t find a good place for the huge rocker pictured above in the other bedroom.
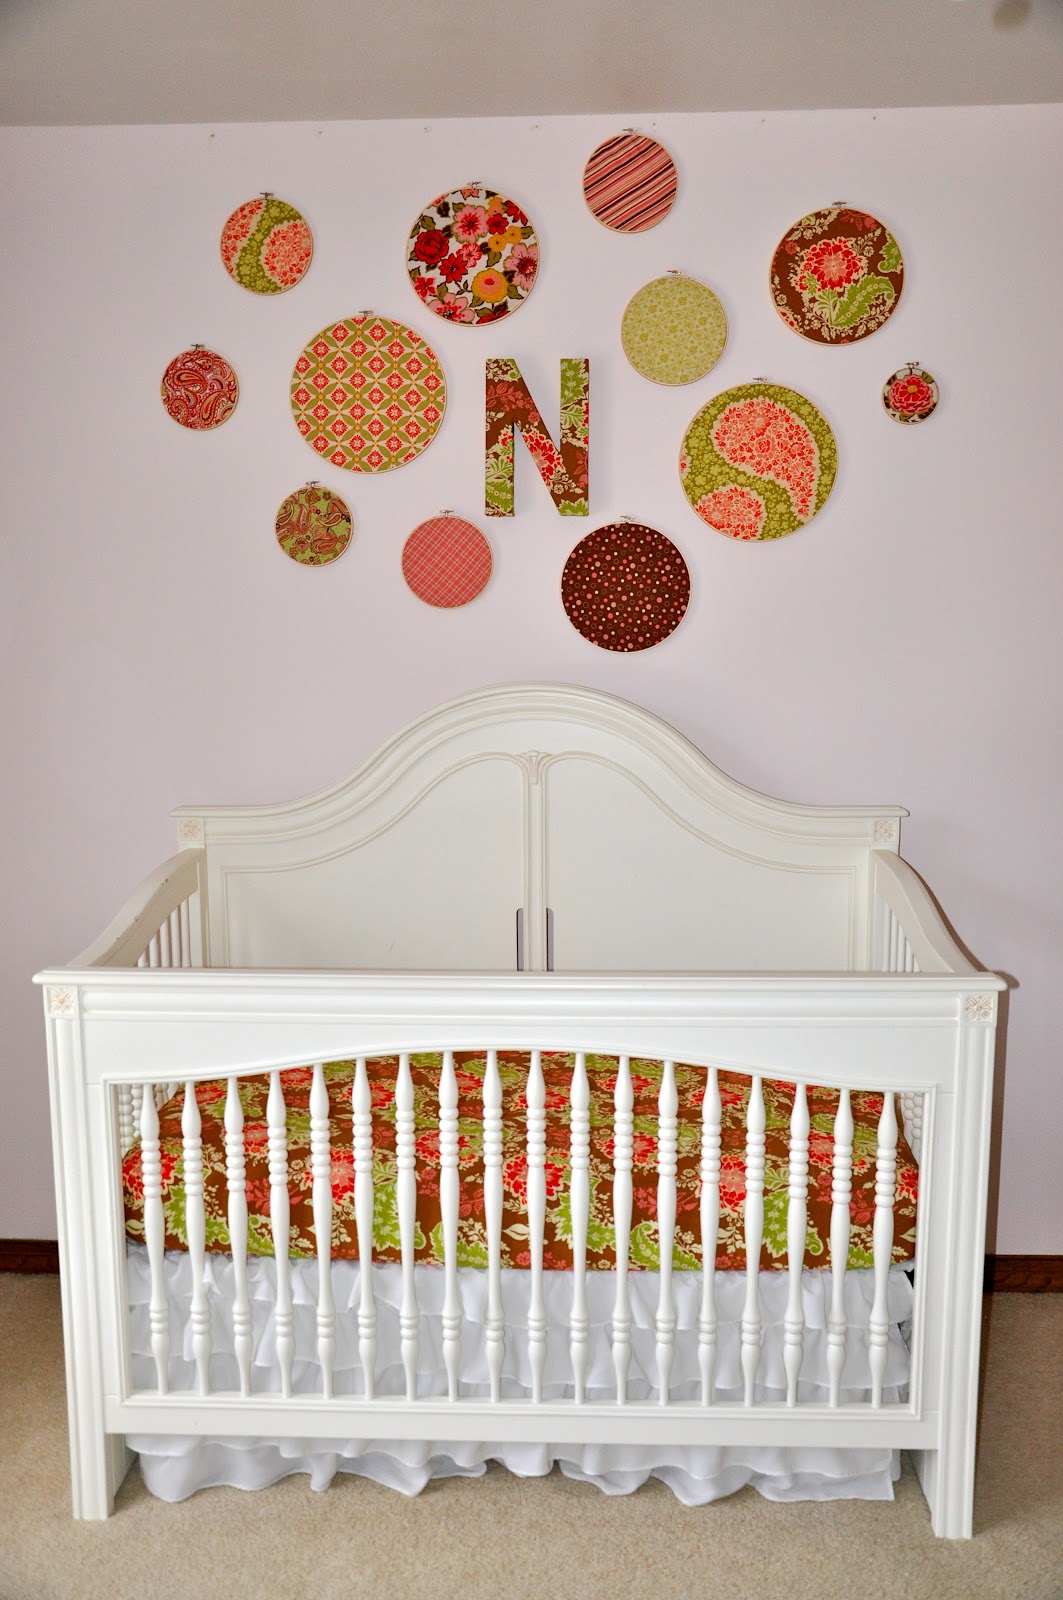
This was Miss’s crib that we converted to a full size bed when she moved into her “big girl bed.” We converted it back and Miss got a new big girl bed you can check out below. I made a couple of crib sheets for Sis’s crib and used the bed skirt that my mom and I (mostly my mom) made for Miss’s room before she was born.

The biggest transformation has been in Miss’s room. We painted it this green originally to match the fabrics for Sis’s room, but the color works just as well with Miss’s new bedding.

In her old room, Miss had rails on the sides of her bed. She was ready to have those taken off, as the only thing they have been needed to keep in her bed for the past several months have been all the “friends” Miss had been sleeping with. I got these planter baskets from Hobby Lobby and they have been a perfect way to keep the friends within reach, though not right in the bed.

This was Miss’s reading corner in her old room. The chair went into Lass’s room, Miss got a bigger chair, and the bookshelf stayed where it is for Baby Sis. It’s attached to the wall, so Miss got a new book shelf.
Here’s Miss’s new reading/vanity corner. I got her this cute little vanity to replace the dresser that was in her old room (which stayed in there to serve as a changing table for Baby Sis).
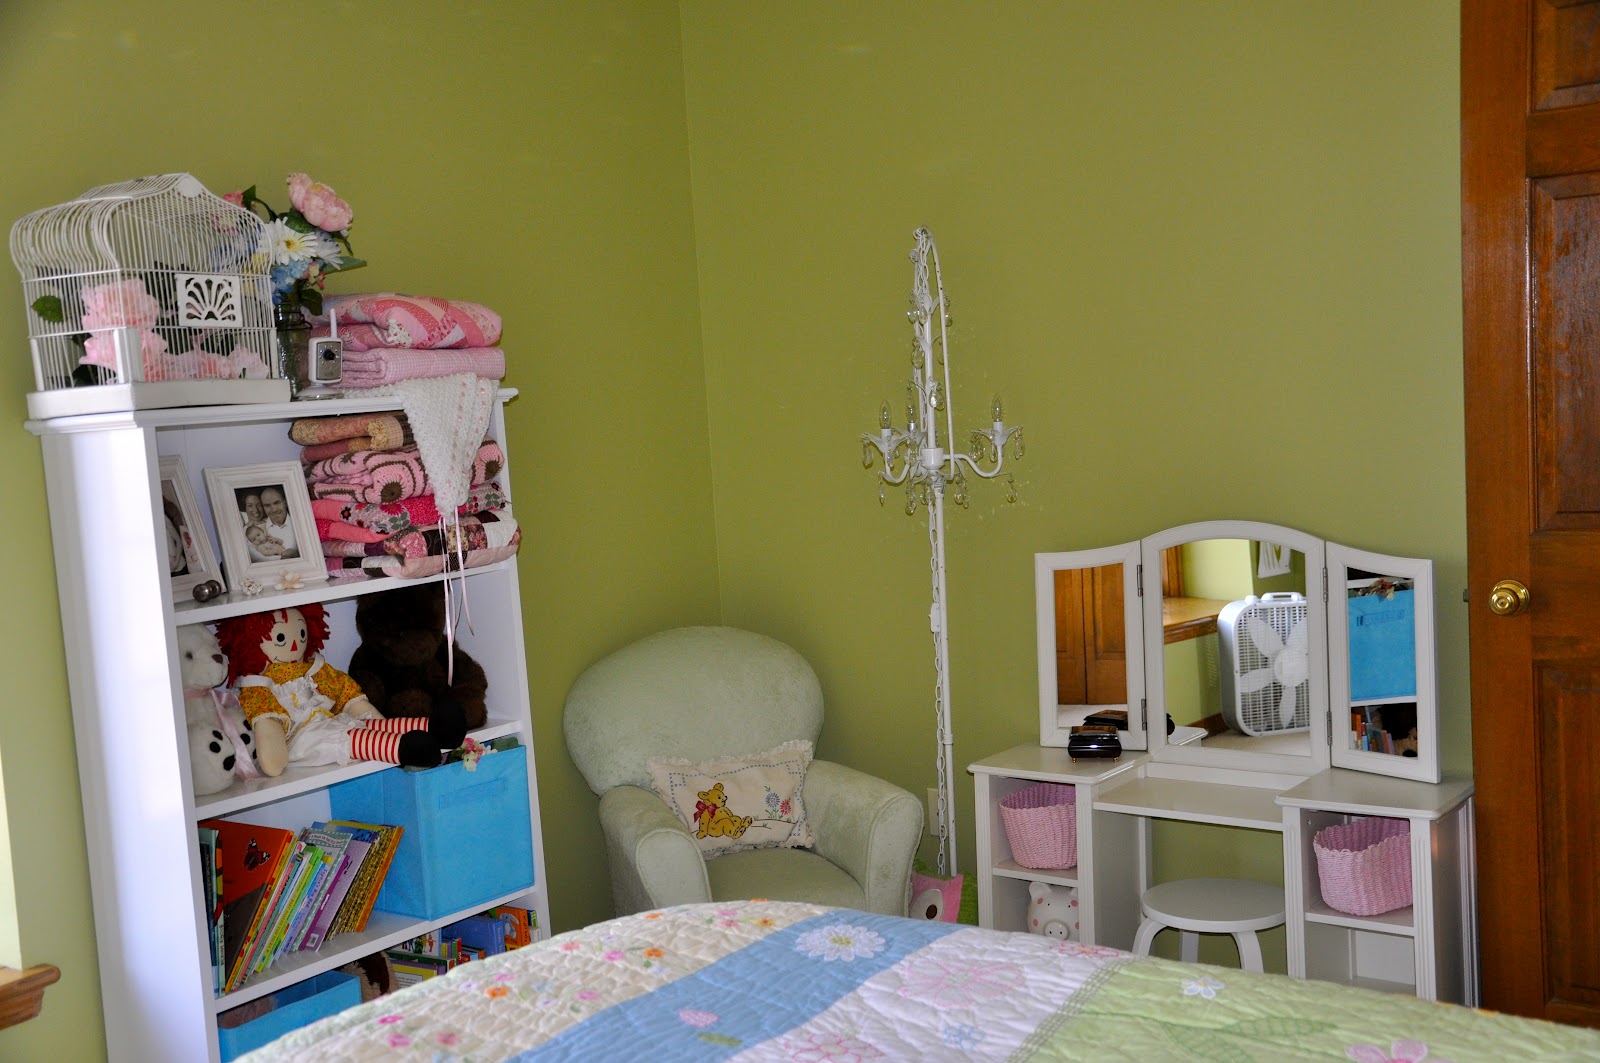
She has adjusted remarkably well to this move, considering we decided to do it kind of last minute. She loves her new stuff, especially the vanity. I also took some fabric flowers (left over from the arrangement I made for her that you can see below) and a few upcycled food cans (I made sure to remove all sharp spots) that I painted in coordinating colors, and I put them in one of the blue boxes on her shelf for her to use to make her own flower arrangements. This has been a huge hit with her.

After all the shuffling around of rooms and furniture and all the crafting and sewing I’ve done (2 growth charts, tons of fabric circles, two crib sheets, and three large cardboard initials), I’m extremely happy with the results in all the girls’ rooms. I have to give credit to my husband for all the work he did to help (moving lots of furniture, putting up a chandelier, putting together several pieces of furniture, and many other “Honey-Do” tasks). One of the projects I’ve been really happy with is the cardboard initials I did for each of the girls. The initials came from Hobby Lobby. I used Mod Podge to come up with three different looks for them. They were all very easy.
For Miss’s I used torn pieces of scrap book paper and Mod Podge. I just put the Mod Podge down before placing each piece of paper, used enough overlapping paper to cover the whole letter, and then put a final coat of Mod Podge over the top when it was all done.
For Lass’s letter I started by painting it green, and then cut out these flowers from the fabric that I had used to make her crib sheet. The fabric flowers got Mod Podged in place, and then I again put a final coat of MP over the whole thing when it was done.

Baby Sis’s letter was done by just Mod Podging some of the leftover fabric from one of the crib sheets I made onto the cardboard. This one was a little bit more tricky to figure out the best way to piece the fabric to get the whole letter covered and still looking nice. I started by cutting strips of fabric as wide as the depth of the letter and covering the inner “V’s” of the N first. Then I just used one big piece to cover the front of the letter and outer sides. I had to wrap around a little bit, but it turned out great.

So, that’s what I’ve been doing for the past several weeks. I still have a few more projects I would like to get done, but they don’t feel as pressing as these did. Each of my girls has a pretty new look for her room, so I’m satisfied.
